
Combining Text Recognition with Google Translator in a Single Machine Learning Project
In this post, I will show you how to build a program that can do text recognition and language translation for you. I have built a text recognition program before, and I really liked how great it is doing. I have been using it to convert my handwritten notes to a digital text documents. Let me tell you how I decided to do a photo translator with this idea.
While thinking about a project idea to work on, since I already have a text recognizer, I thought a smart photo translator will be a great one. After doing a little research, I found that Google’s Translator API was available to use. In this project, I will combine text recognition with the translator library. Merging two machine learning subjects in one project will be fun. Enough with introduction let’s get to work!
Table of Contents:
- Getting Started
- Step 1 – Define the Image
- Step 2 – Text Recognition
- Step 3 – Google Translator
- Final Step – Exporting the Result
Getting Started
In this project, we are going to use three python libraries. I am going to use my terminal window to install them. A recommendation: create an environment before installing them. I personally go with Anaconda, it has a nice interface and simple to use. Anyways, back to the libraries. Here are the three libraries that we will need:
- Pillow: It is a powerful image processing libraries. We will use it to open and edit an image file. (Also known as PIL).
- Pytesseract: It is the library that we will use to recognize text in an image.
- Googletrans: As you can guess from the library name, we will use it to translate the text. Also a quick note: due to some updates from google’s end, this package is giving error messages in some versions. That’s why when installing we will use an 3.1.0 alpha version of it. You can learn more about this issue from stack overflow.
Let’s install them using PIP, which is a python package manager. We can install multiple of them in one line as following:
pip install pillow pytesseract googletrans==3.1.0a0
The libraries are installed and ready to go. If you are having an issue with any of the library installation, feel free to google “how to install x library for macos or windows or linux.” I am sure you will find handful of resources. Don’t forget that all programmers search online when they need help. There is nothing with asking for help.
Since our libraries are ready. Now, we have to import them to be able to use them. First, I will go ahead and create a new notebook in Jupyter. If you are new to Jupyter, here is nice definition from their website:
The Jupyter Notebook is an open-source web application that allows you to create and share documents that contain live code, equations, visualizations and narrative text. Uses include: data cleaning and transformation, numerical simulation, statistical modeling, data visualization, machine learning, and much more. (Reference: https://jupyter.org/)
Let’s import the libraies
from PIL import Image
import pytesseract
from googletrans import Translator
Step 1 – Define the Image
This will be a an easy step where we will take a picture and import it into our program. Since we are going to recognize text, make sure there is text in the image 🙂
Here is the image that I am planning to use. It’s from a poem that I wrote.

Now, let’s go ahead and import it. (I have renamed my image file as “silence_poem”)
img = Image.open('images/silence_poem.jpg')
Perfect! We have defined a new variable and assigned the image to it. Let’s move to the next step.
Step 2 – Text Recognition
It’s time to do the magic show. In this step, we are going recognize the text in the image. For this, we are going to use the Pytesseract package that we have installed and imported earlier. Here is the code:
result = pytesseract.image_to_string(img)
Let’s print our the result and see how much of the text was recognized. By the way, the text format is string. That’s is why the function we called is “image_to_string”.
print(result)

Step 3 – Google Translator
We are almost done. What we did so far is called Text Recogntion. It is also a nice working program. But since we want to make something cooler than that, let’s add some show to it. In this step, we will use the free version of Google Translator API to translate the recognized text to another language. You will not believe how easy this will happen.
I will share the translation code block with you now.
p = Translator()
p_translated = p.translate(result, dest='french')
translated = str(p_translated.text)
So what is happening above is as following:
- Firstly, we are defining the translator.
- In the second line, we are passing in the recognized text and the language we want to translate to inside the function. I am going with French.
- And lastly, we are converting the translated variable to string format.
Before we move to the next step, I would like to show you how p_translated looks like as a variable and it’s parameters.

Final Step – Exporting the Result
What we have done so far is running inside the notebook. If we want to do it all, we have to run it again. So instead of that we are going to export the work we have done into a text document. This way, we can access to our translated work without running the any code.
Before exporting, let’s check print it out to see how it looks:
print (result + "\n\n" + translated)

Looks very nice. Isn’t it cool that even the format is kept after the translation process. It is time to export that into a text document. Here is the code block how to do it:
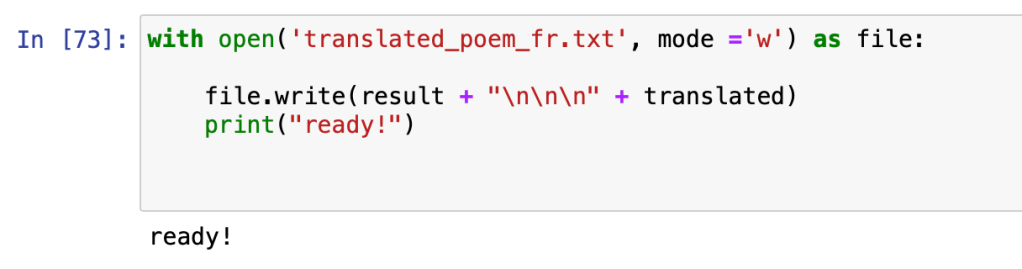
with open('translated_poem_fr.txt', mode ='w') as file:
  file.write(result + "\n\n\n" + translated)
  file.write(translated)
  print("ready!")
When the exporting process is completed we will see a “ready!” message in our notebook.
Now, let me show you the final work that we have exported. It is a text document.

Congrats!! You have accomplished the project if you are reading this sentence. In this project, we have combined text recognition with google translator. This helped us to create a useful program that recognizes text in an image and translates it to another language. You can impress your professor by translating a page of their favorite book to another language.
I love programming because the limit is the sky. We can create something amazing in less than hour that will save us lots of time later. Working on hands-on projects like this one is great way to sharpen your programming skills. I have shared many more hands-on projects like this, feel free to check my other articles here.
Feel free to reach me if you have any questions or comments.
Let’s connect. Check my medium blog and youtube to stay inspired. Thank you,
More Machine Learning Projects for you:

One response to “Building a Photo Translator using Python and Google Translator API”
[…] Building a Photo Translator using Python with Google Translator API […]
LikeLike