
In this post, I will show you how to build a simple face detector using Python. Building a program that detects faces is a very nice project to get started with computer vision. In a previous post, I showed how to recognize text in an image, it is a great way to practice python in computer vision. Today, we will do something more fun and interesting: face detection.
https://towardsdatascience.com/building-a-simple-text-recognizer-in-python-93e453ddb759
As can be understood from the name, we will write a program that will detect faces in an image. When I say “program”, you can understand this as teaching a machine what to do. I like to use teaching instead of programming because that’s actually what we are doing. Best way of learning is teaching, so while teaching a machine how to detect faces, we are learning too. Before we get to the project, I want to share the difference between face detection and face recognizer.
Face Detection vs Face Recognition
This two things might sounds very similar but actually they are not same. Let’s understand the difference so that we don’t miss the point. Face Detection is the process of detecting faces, it can from an image or a video doesn’t matter. The program doesn’t do anything more than finding the faces. But in the other hand, face recognition, the program finds the faces and also it can tell which face belongs to who. So it is more informational than just detecting them. There is more programming, in other words, more teaching 🙂
Let’s say that you are watching the street, and cars are passing. Face detection is like telling the object passing by is a car. And face recognizer is like to be able to tell the model of the car passing by. Here is a nice image showing the difference in practice.

Let’s get started!
We will use one module library for this project, and it is called OpenCV. OpenCV is a highly optimized library with focus on real-time applications.
OpenCV (Open Source Computer Vision Library) is an open source computer vision and machine learning software library. OpenCV was built to provide a common infrastructure for computer vision applications and to accelerate the use of machine perception in the commercial products. Being a BSD-licensed product, OpenCV makes it easy for businesses to utilize and modify the code.
https://opencv.org
Library
First things first, let’s install the package.
pip install opencv-python
After installation is completed, we have to import it to our program.
import cv2
OpenCV already contains many pre-trained classifiers for face, eyes, smile etc. Those XML files are stored in folder. We will use the face detection model. Here is the link for face detection: https://raw.githubusercontent.com/opencv/opencv/master/data/haarcascades/haarcascade_frontalface_default.xml
You can either download the XML file form Github if you have an account. If you don’t, feel free to copy the code from the link below and paste it into a text document and save it as “face_detector.xml”.
After saving the file in your current folder, let’s load it to our program.
Load the cascade
face_cascade = cv2.CascadeClassifier('face_detector.xml')
Define Image
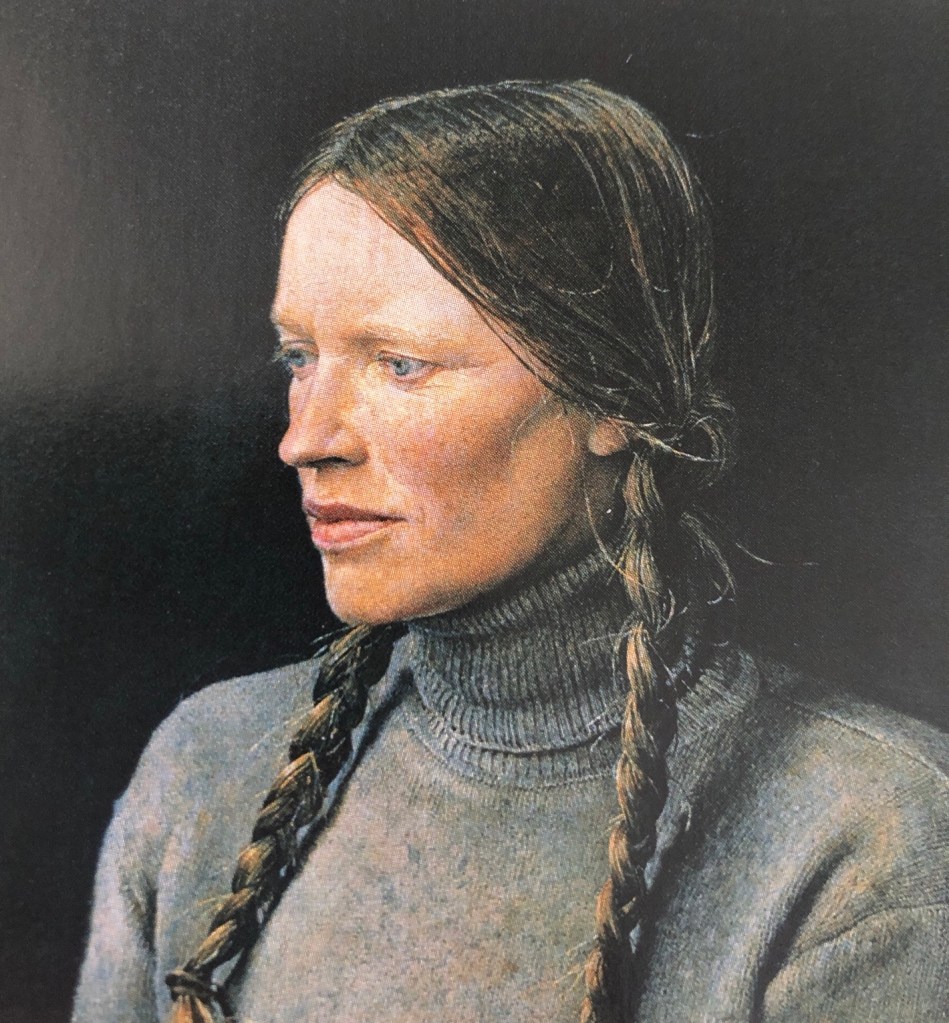
In this step, you will choose an image that you want to test your code on. Make sure there is at least one face in the image so that our program can find one. Here is an image of a person I photographed from an art book.
After choosing an image, let’s define it in our program. Make sure the image file is in the same folder you are working in.
Read the input image
img = cv2.imread('test.jpg')
Face Detection
You will be amaze how short the face detection code is. Thanks to people contributing to OpenCV. Here is the code that detects faces in an image:
faces = face_cascade.detectMultiScale(gray, 1.1, 4)
We defined face_cascade earlier in the code. After the faces are detected, we will draw rectangles around them so that we know what the machine sees. The machine can make mistakes, but our goals should be to teach the best and most optimized way so that the prediction is more accurate.
To draw rectangles around the faces detected is possible with the following code:
for (x, y, w, h) in faces:
   cv2.rectangle(img, (x, y), (x+w, y+h), (255, 0, 0), 2)
The Result
This is final step, now we will export our result as an image file. This image will show the result of face detection. To save a new image file, we will use a method from cv2 library called “imwrite”. After the save is done, you will see “Successfully saved” in your terminal.
cv2.imwrite("face_detected.png", img)
print('Successfully saved')

Congrats, you have created a program that detects faces in an image. Now, you have an idea on how to teach a machine to do something cool for you. Hoping that you enjoyed this tutorial and learn something new today. In my next post, I would like to share how to build a face recognizer using python.
Follow my blog and Towards Data Science to stay inspired.
