Python for Art — Simple Computer Vision Programming Project
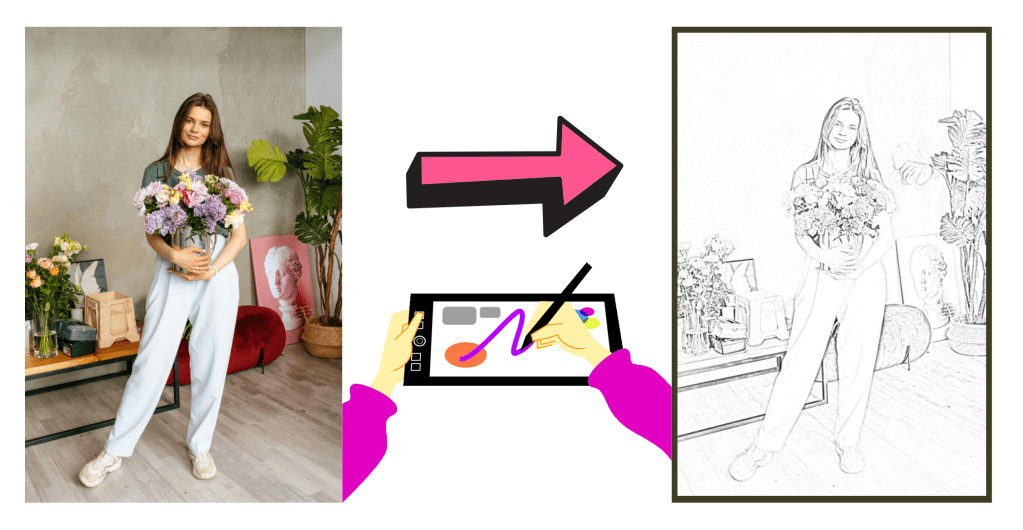
In this article, I will show you how to convert your photos into hand-drawn art pieces using python code. As an art and tech enthusiast, I decided to combine both fields in a straightforward project. This project will show you that programming is not just about finding solutions to coding problems. Programming can also be used to showcase your creativity in action, for example, by creating pencil sketched-looking artworks.
After working on this project, you will have some insight on how to use OpenCV(Computer Vision Library) in hands-on python projects. I hope you will enjoy and learn something new after reading this article.
Without losing any time, let’s get started!
Table of Contents:
- Python
- Getting Started
- Step 1— Define the Image
- Step 2— Image Preprocessing
- Step 3 — Blend the Artwork
- Final Step — Export the Result
Python
Python is a general-purpose programming language that is becoming ever more popular for analyzing data. Python also lets you work quickly and integrate systems more effectively. Companies from all around the world are utilizing Python to gather bits of knowledge from their data. The official Python page if you want to learn more.
Getting Started
In this project, we will be using two python libraries. The main library is OpenCV, which is a well-known computer vision project. And the second library that we will need is PIL, which is an image processing library.
OpenCV (Open Source Computer Vision)
OpenCV is an open-source computer vision and machine learning software library. OpenCV was built to provide a common infrastructure for computer vision applications and to accelerate the use of machine perception in the commercial products. Being a BSD-licensed product, OpenCV makes it easy for businesses to utilize and modify the code.
Reference: https://opencv.org
Install Libraries
We can install the libraries using pip, a python package/ library manager. After installation is completed, we can import them into our project file.
OpenCV is installed as “opencv-python” and PIL is installed as “pillow.”
pip install opencv-python pillow
Import Libraries
Now, we can go ahead and open our code editor. I will work on Jupyter Notebook, however feel free to use a different code editor. I like to use the notebook for this project because it will be easier to go back and see the changes faster.
import cv2
from PIL import Image
Great! Now we can move to the next step, where we will define the image that we want to turn into pencil sketched artwork.
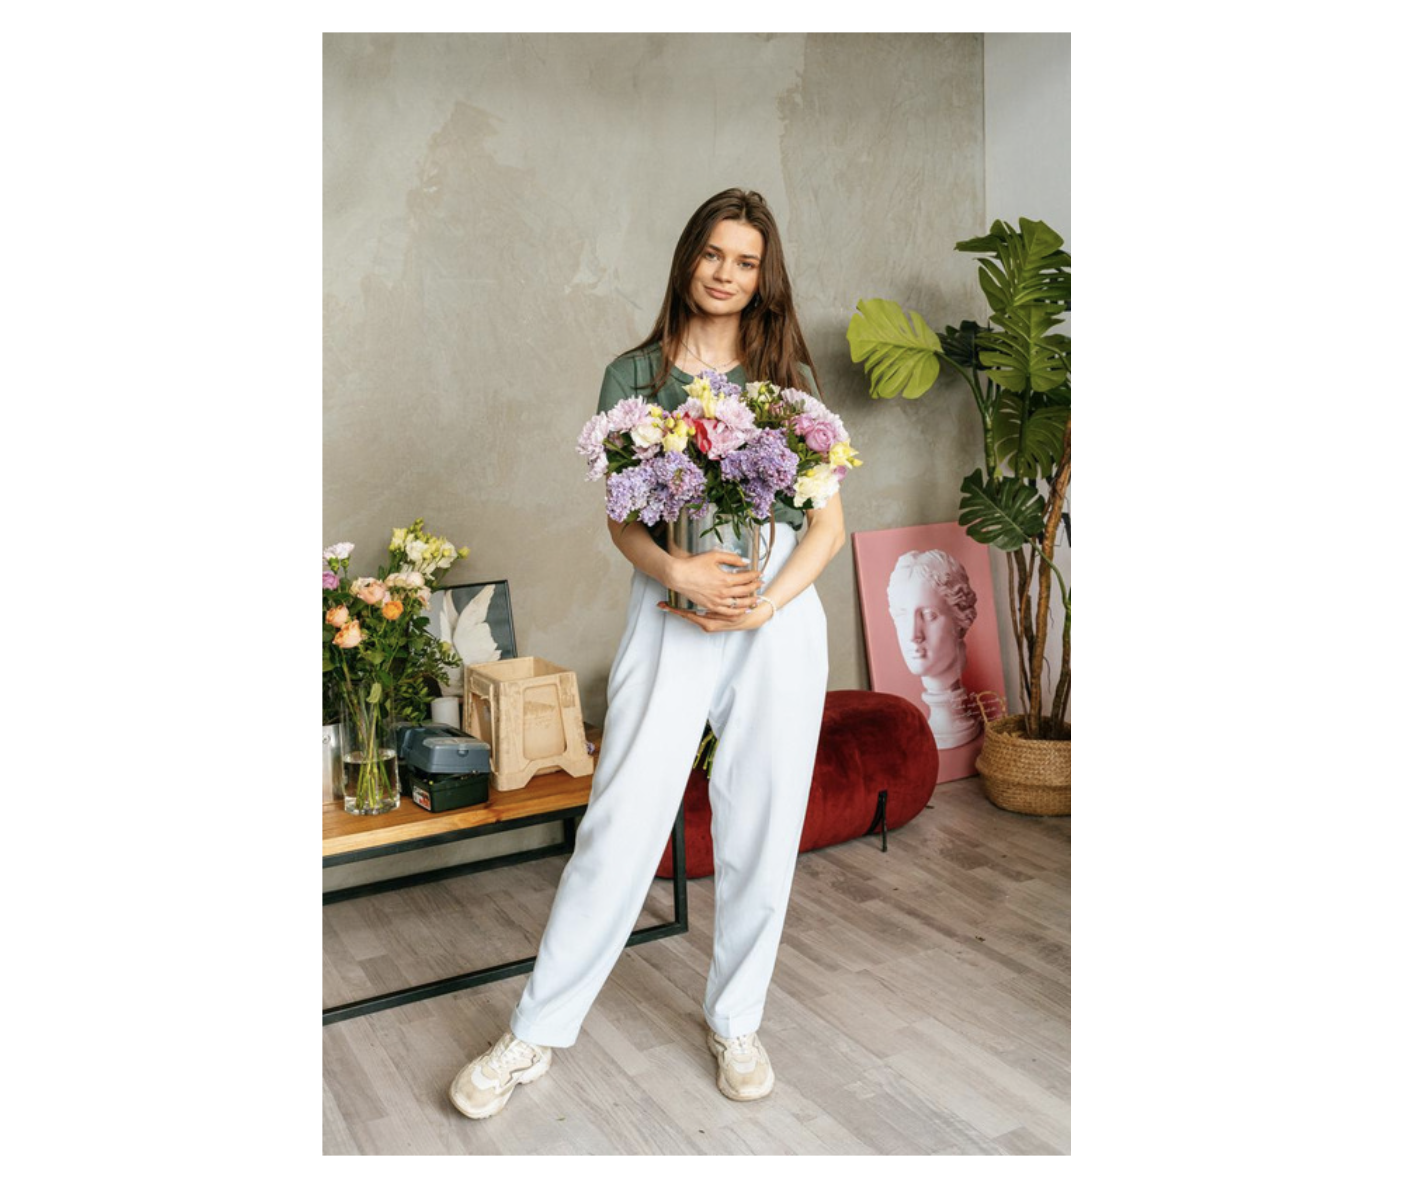
Step 1 — Define the Image
In this step, we are going to start by resizing the image that we want to use. And then, we are going to import the image into our program. You can skip this resizing process if you are happy with the image size.
Image
Resize Image
First, let’s check the original size of the image.
image = Image.open('portrait.jpg')
print(image.size)
#Result
(4000, 6000)
Now, let’ resize it. I recommend keeping the height / width ratio same when resizing. This way, we won’t lose any part of the photo.
resized_image = image.resize((800, 1200))
resized_image.save('resized_image.jpg')
print(resized_image.size)
#Result
(800, 1200)

Read Image
We have saved the resized image in the previous line. And now we will read it using imread. Make sure the filename and file format are correct. I have defined it as img, but feel free to use a different variable name.
img = cv2.imread(‘resized_image.jpg’)
Step 2 — Image Preprocessing
Perfect! Let’s play with our image. To be able to get a pencil sketch final look, our image has to go through some process. You can think of it as a different layer of filters. We will use OpenCV predefined models.
Convert to Grayscale
Here is the official documentation for cvtColor method.
grayed = cv2.cvtColor(img, cv2.COLOR_BGR2GRAY)
Invert Pixels
This process helps to find the shady areas in the photo. Shade plays a significant role in pencil sketched drawings. Here is the official documentation, if you want to learn how bitwise_not method works.
inverted = cv2.bitwise_not(grayed)
Add Blurriness
Here is the official documentation for the GaussianBlur method. GaussianBlur blurs an image using a Gaussian filter. This will give the sketch effect to the final artwork.
blurred = cv2.GaussianBlur(inverted, (20, 20), sigmaX=0, sigmaY=0)

Step 3 — Blending the Artwork
It’s showtime! Are you ready to see how the final result will look like? In this step, we are going to blend the grayed and the blurred images. To do this operation, we will write a function to combine the images.
Blending images is super easy with OpenCV; we will use the divide method. Which basically divides the pixel values of the image. You think of it as a matrix division process.
def blend(x, y):
    return cv2.divide(x, 255 - y, scale=256)
Now, let’s call the function by passing in the images that we want to blend.
final_result = blend(grayed, blurred)
Final Step — Export the Result
We are almost done!
Let’s export the result. We will use the imwrite method to save the result as an image file into our folder. This way, we can have a record of the final work.
cv2.imwrite("my_artwork.jpg", final_result)
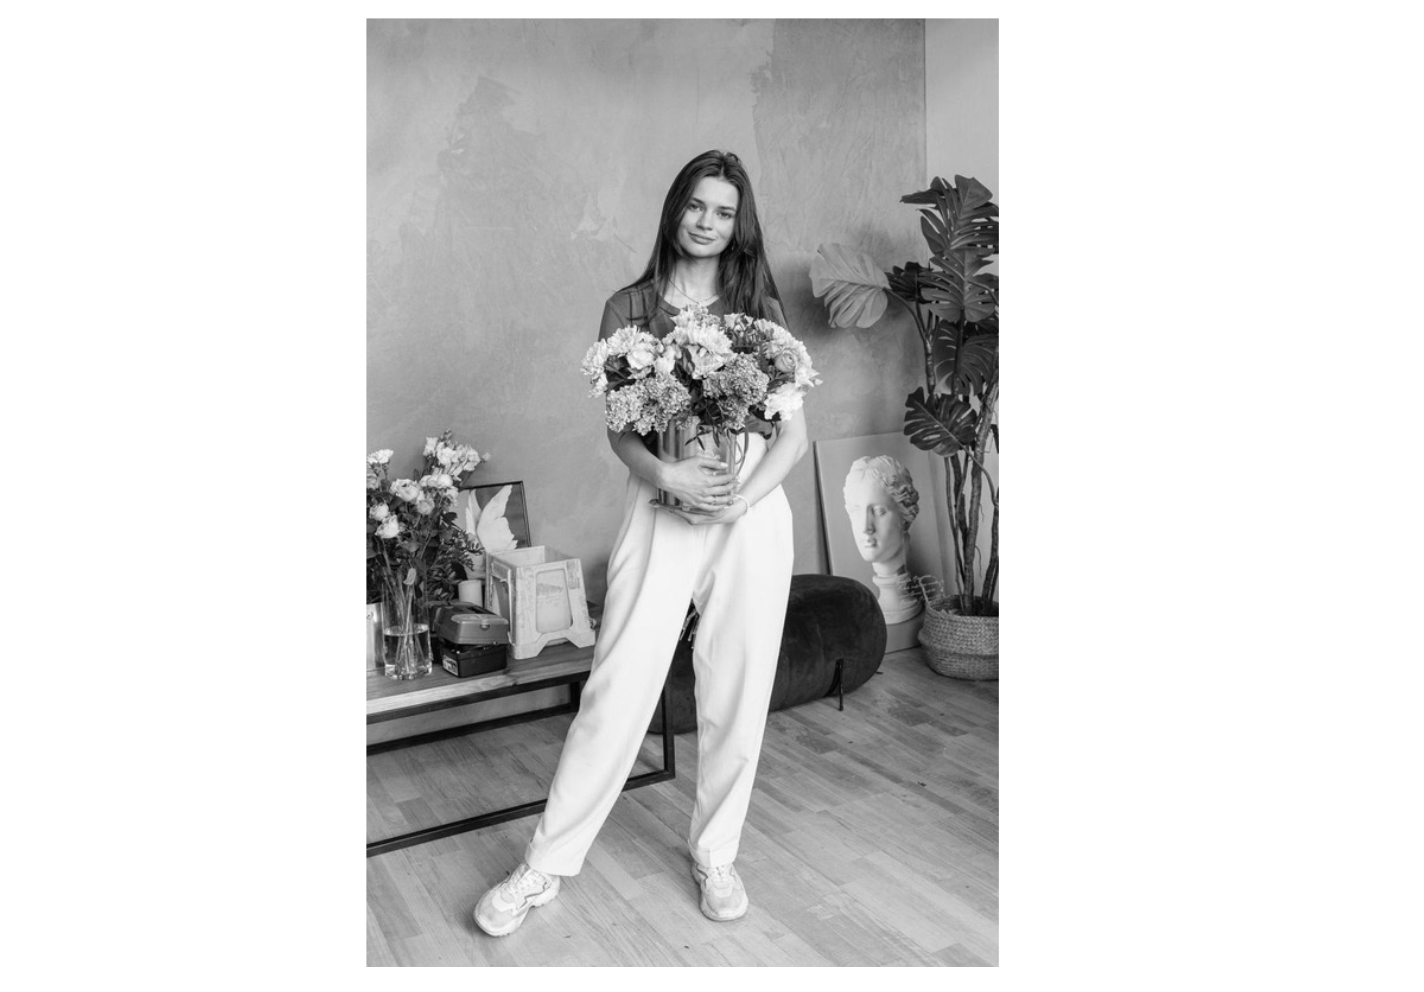
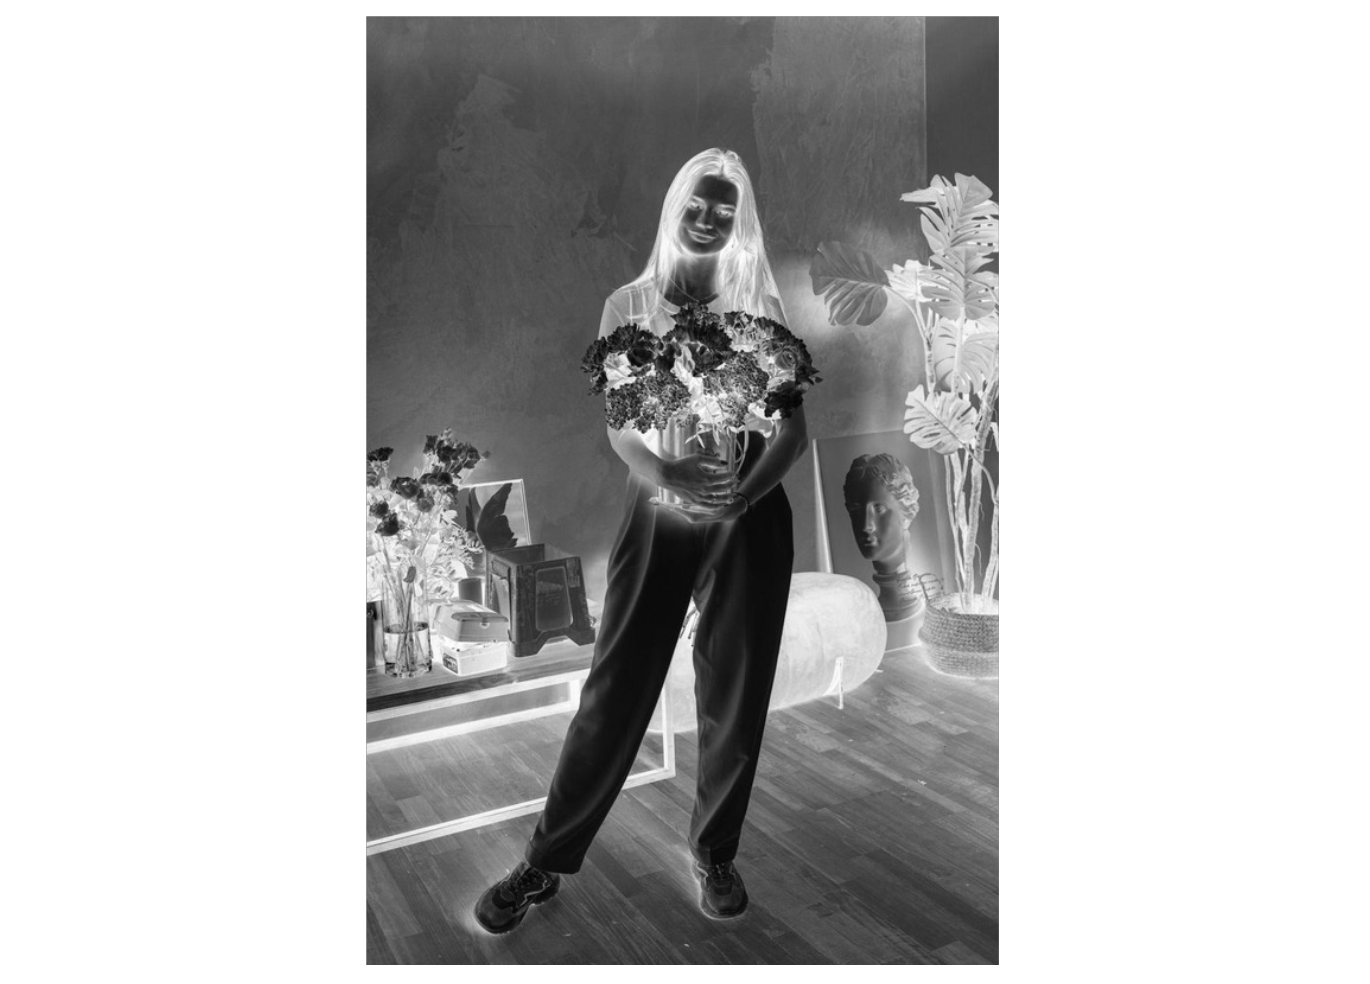
Great! Now, let me share the final result. Personally, I am so amazed with it. Let me know your thoughts too.
Result

Conclusion
Congrats! We have created a pencil sketched looking artwork of an image using Python. As I mentioned earlier, programming is not just about solving problems. We can also use it for fun and artistic projects like this one. These kinds of projects will help you find new ideas to implement. OpenCV is one of my favorite when it comes to computer vision projects.
I am hoping that you enjoyed reading this article and learned something new today. Working on hands-on programming projects is the best way to sharpen your coding skills. Feel free to reach me if you have any questions while implementing the code. I will do my best to get back to everyone.
