
Using Speech Recognition for Note-taking
In this article, we will learn how to convert audio conversations on Slack into written notes. Slack has a feature where users can share audio or video recordings with their team members. This is an excellent communication method between colleagues. There is a nice saying that I like: “A picture is worth a thousand words.” Sometimes explaining something with words can be very challenging or, in other words, can take more time than it should. So, here comes the power of audio and video messages.
As a tech enthusiast, I decided to combine this cool Slack feature with machine learning. There is always some room for development. It’s all about how you approach the problem and develop a solution.
One of the reasons I enjoy working on Machine Learning projects is that I can combine different areas/ topics with it. From my experience, this way, the learning becomes more permanent and joyful.
Without losing any time, let’s get started!
Table of Contents:
- Getting Started
- Step 1 — Libraries
- Step 2 — Slack Audio Recording
- Step 3 — Uploading Audio to the API
- Step 4 — Speech-to-Text Transcription
- Final Step — Exporting the Result
Getting Started
AssemblyAI
In this project, we are going to use AssemblyAI’s Speech-to-Text API. It is a very well-trained machine learning API. It’s free to use. We will get a unique API key after creating an account. We will use that API key to use the services and features.
AssemblyAI has excellent services and features that we can use for so many things, from topic detection to content moderation. In today’s project, we will be using speech-to-text with the auto-summarization feature. Since our goal is note-taking, this feature best fits our needs.
Jupyter Notebook
We need a coding environment to write our code. I am going to use the Jupyter Notebook. I like it because it’s open-source, and it allows me to run codes as different blocks. Using code blocks is a great feature, especially when working on Data Science and Machine Learning projects.
Step 1 — Libraries
If you have worked on a machine learning project before, I am sure that you’ve used some python libraries. If this is your first project — there is nothing to worry about; it’s so simple to install and use them.
Here are the python libraries that we will need for this project: requests, time, sys. These are all built-in libraries; that’s why we don’t have to install them.
Let’s go ahead and import them into our program.
import requests
import time
import sys
Step 2— Slack Audio Recording
In this step, we are going to cover how to record an audio clip in Slack. And then, we will download that recording into our machine.
So, what is Slack?
Slack is a messaging app for businesses that connects people to the information they need. By bringing people together to work as one unified team, Slack transforms the way organizations communicate.
Reference: https://slack.com/help/articles/115004071768-What-is-Slack
Slack can be used as a web application or software that you can install on your device.
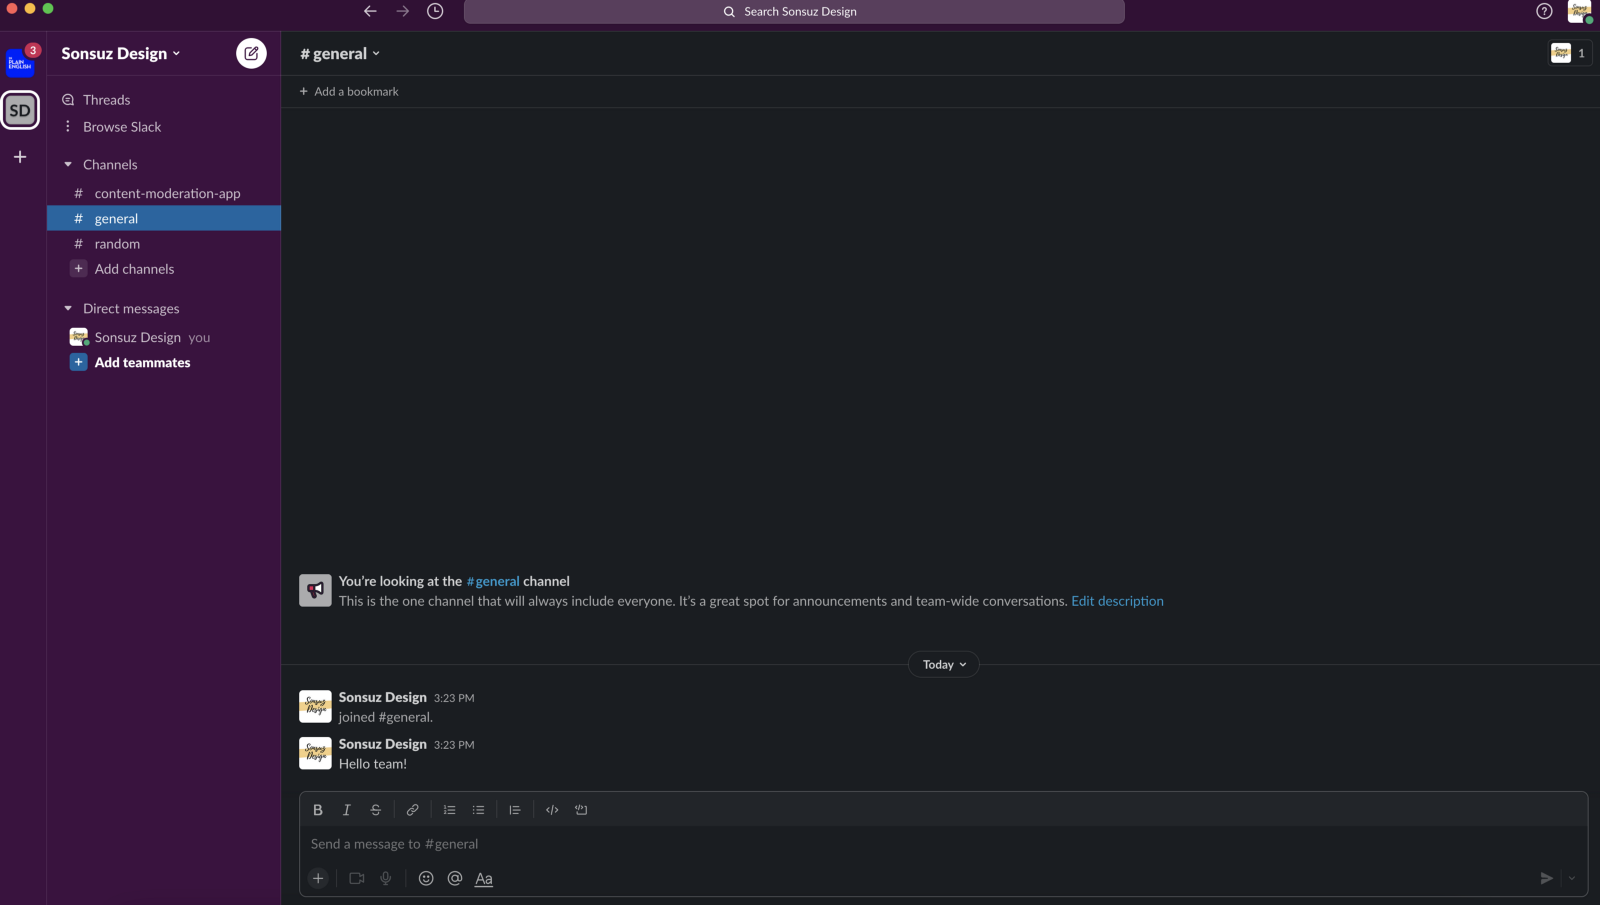
Here is a screenshot of my personal example workspace. You can create your own using your email address.
Now, let’s go ahead and record an audio clip. The recording audio feature is available for free with 30-day trial.
I’ve just recorded an audio message by clicking on the microphone button. We see the options available for an audio message in the image below. We will go ahead and click on download. This way, we can run our machine learning program on this audio clip.

Step 3 — Uploading Audio to the API
In this step, we will upload the downloaded audio into the cloud. The Speech-to-Text transcription will happen in AssemblyAI’s cloud. No extra software or program needs to be installed on our machine. All we need is an API key.
audio_data = "slack_recording.wav"
def upload_audio(audio_data, chunk_size=5242880):
    with open(audio_data, 'rb') as audio_file:
        while True:
            data = audio_file.read(chunk_size)
            if not data:
                break
            yield data
headers = {
    "authorization": "Our API key goes here."
 }
response = requests.post('https://api.assemblyai.com/v2/upload', headers=headers, data=upload_audio(audio_data))
- audio_data is the file path of the audio recording.
- upload_audio function is reading the audio file from our machine.
- headers is a dictionary where we pass our API key.
- response is the variable where we assign the returned value of the post request. We are reaching the API through this post request.
After running this code block, let’s print out response variable.
print(response.json())
Here is the output I got:
{'upload_url': 'https://cdn.assemblyai.com/upload/0fe5e955-faf0-436f-aa42-4183ed05265e'}
Step 4— Speech-to-Text Transcription
Almost there! This step will convert the uploaded audio file into written text. And during this transcription, we will also use the auto-summary feature of the API. Instead of having the whole audio as text, we will get a summarized version of the entire context.
The following code block will send our request to the API:
speech_to_text_api = "https://api.assemblyai.com/v2/transcript"
data = {
    "audio_url": "the upload url address goes here",
    "auto_chapters": "TRUE",
}
headers = {
    "authorization": "Our API key goes here.",
    "content-type": "application/json"
}
response = requests.post(speech_to_text_api, json=data, headers=headers)
After running this code block, let’s go ahead and check out the response.
print(response.json)

Our request is queued and waiting to be processed. Let’s copy the id value of this request; we will need it to check the request’s status.
Final Step — Exporting the Result
In this step, we will check back with the API about our request that we made earlier.
request_url = "https://api.assemblyai.com/v2/transcript/ the request id from the previous step goes here"
headers = {
    "authorization": "Our API key goes here."
}
response = requests.get(request_url, headers=headers)
summarized_text = response.json()['chapters']
summarized_text
Here is the summarized output of my audio message:

Perfect! Now, let’s export this summary as a text document into our folder.
file = open("summary_text.txt","w")
file.write("Summary of the audio message is as follows: \n")
file.write(summarized_text[0]['summary'])
file.close()

Congrats! We have created a program that can summarize audio messages for us. Slack audio feature is just one example where we can implement this project. Feel free to try it out with different audio clips, and see how it performs. It’s a great way to get the important points from an audio.
It’s nice to see how machine learning is being applied in the real world — hoping that you enjoyed reading this article and learned something new today.
I am Behic Guven, and I love sharing stories on programming, education, and life. Subscribe to my content to stay inspired. Ty,
If you are wondering what kind of articles I write, here are some:
